Everything you need to know about mortise and tenon joints
👋 A mortise and tenon is a popular type of joint that is used to connect two pieces of wood.
A mortise is basically a slot cut in a piece of stock. A tenon is a reduced tongue on the end of the stock that is cut to fit into the mortise.
The mortise and tenon joint can be used in a huge variety of woodworking projects including tables, chairs and other furniture, windows and doors and even timber framed buildings. Several different types of mortise and tenon joints can be constructed...
Check the section below!💥
Subscribe
To join our mailing list and never miss a deal!
1. TYPE OF MORTISE AND TENON JOINTS
When building a strong structure or a piece of furniture, the joints you use matter. One of the most common and strongest joints is a mortise and tenon joint, an extremely old woodworking technique that has stood the test of time and is still used today.
In its most basic form, a mortise and tenon joint is simple, extremely strong, and the technique can be scaled up or down in size with great success.
There are many variations of the type of joint, check below the 3 most common:
#1 - Blind Mortise and Tenon Joint
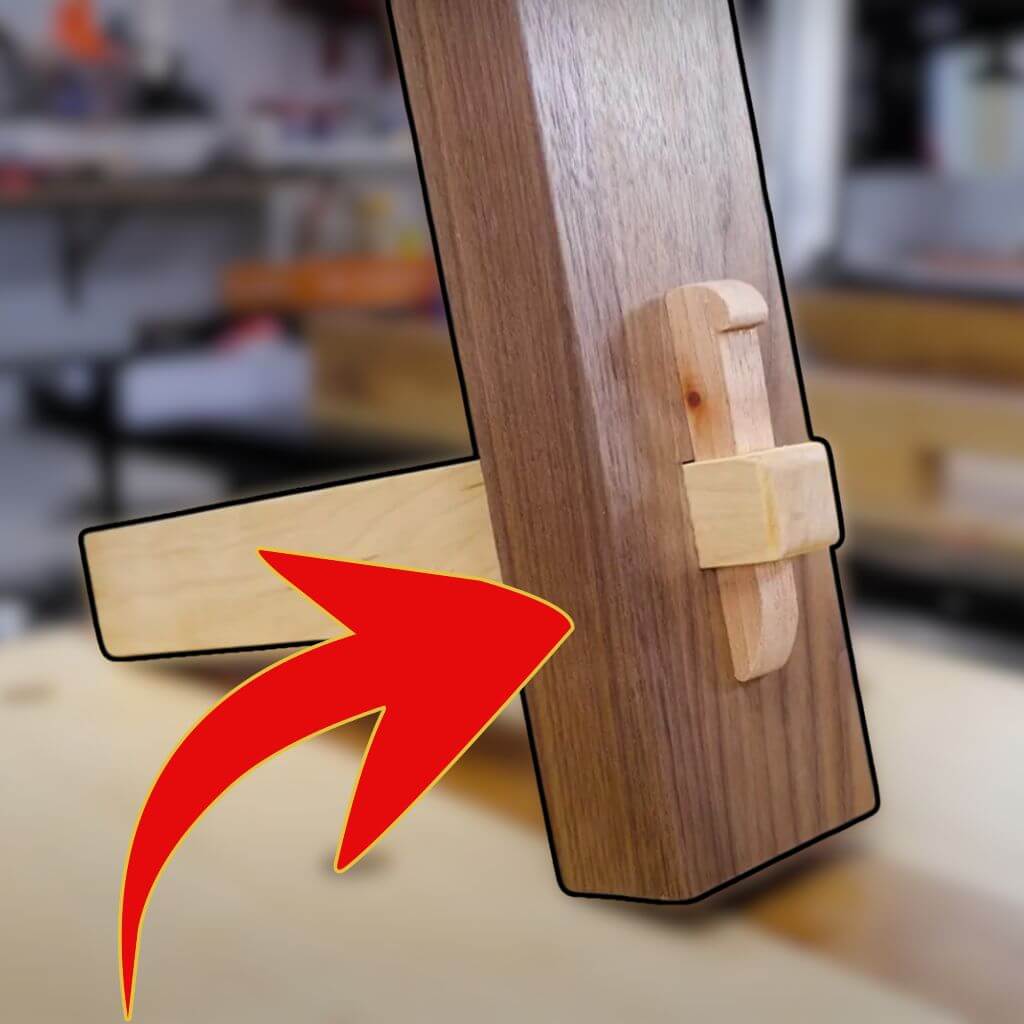
A blind mortise-and-tenon joint has the end of the tenon concealed. The mortise does not go all the way through the stock, the tenon stops half way, essentially disguising it so that it looks neater and more visually appealing.This makes it ideal for use in furniture making (tables, chairs, dressers etc….).
#2 - Through Mortise and Tenon Joint
If you have read the details of the blind mortise above then you may be able to guess this one, that’s right, with this joint, the tenon runs the full width so that it is visible.
A through mortise makes a hole through the material, and once the joint is assembled, the tenon end can be seen on the other side of the hole.
SALE 50%
#3 - Loose Tenon Joint
Despite its odd name, “loose-tenon” joinery is one of woodworking’s tightest methods of joining parts. It’s also one of the most versatile. Loose tenon joints are constructed by mortising both the side of the stile and the end of the rail, and then inserting an appropriately sized tenon during glue-up. Even though the tenon is not integral to either piece, it still creates plenty of long grain to long grain glue surface to create a very strong joint.
2. WHAT ARE THE ADVANTAGES OF MORTISE AND TENON JOINTS?
The mortise and tenon is one of the strongest and most-widely used woodworking joints, however, do you know the other advantages for it?
👉 Used in all sorts of frame construction projects (from window frames to cabinet door fabrication).
👉 Used for heavy weight wood construction demands.
👉 Is neat and very strong, the construction can last for decades.
👉 Has a large surface area for gluing.
👉 It cannot wobble.
👉 Is difficult to pull out.
👉 Most of the joint is hidden in the timber.
SALE 50%
3. HOW TO CUT A SQUARE HOLE IN WOOD?
#1 - Forming the Tenon
First, you need to mark the depth of the mortise all the way around the piece of timber. Use a ruler to mark this point and then a carpenters square to draw a line all the way around. Once this step is done you can now move on to the final piece of your puzzle! The best saw to use to make any cuts is a tenon saw. Start the cut gently by pulling the saw back along your line. Cut down until you meet the shoulder and stop. Flip the timber over and repeat for the other side.
#2 - Cutting the Mortise
To cut a mortise using a mortiser, the first step is to mark out the mortise section of your joint, this is best done with a mortise gauge, but if you don’t have one, a pencil and ruler will be fine and then sink the square hole drill bit into the material, taking small bites at a time. Set the depth stop to drill deep enough to encompass the entire length of the tenon, but no deeper than necessary (unless you are creating a through-tenon). When finished, use a sharp chisel to clean up any rough spots that remain on the walls of the mortise.
#3 - Assembly
With both sections of your joint ready to go, start with a trail fit to check for binding, tightness and even looseness. Once all joints have been formed and its time for assembly, apply glue both the tenon and inside walls of the mortise. Coat all surfaces evenly with glue using a small brush. Assemble the pieces, tapping them together with a wooden mallet, if necessary. Let the glue dry completely before continuing assembly. Excess glue seeping out of the joint is best left to dry, then scraped off with a sharp chisel.
4. WHAT TOOL HELPS THE MOST WITH MAKING MORTISE AND TENON JOINTS?
Traditionally, mortises were cut into the receiving piece of stock using a chisel and mallet.
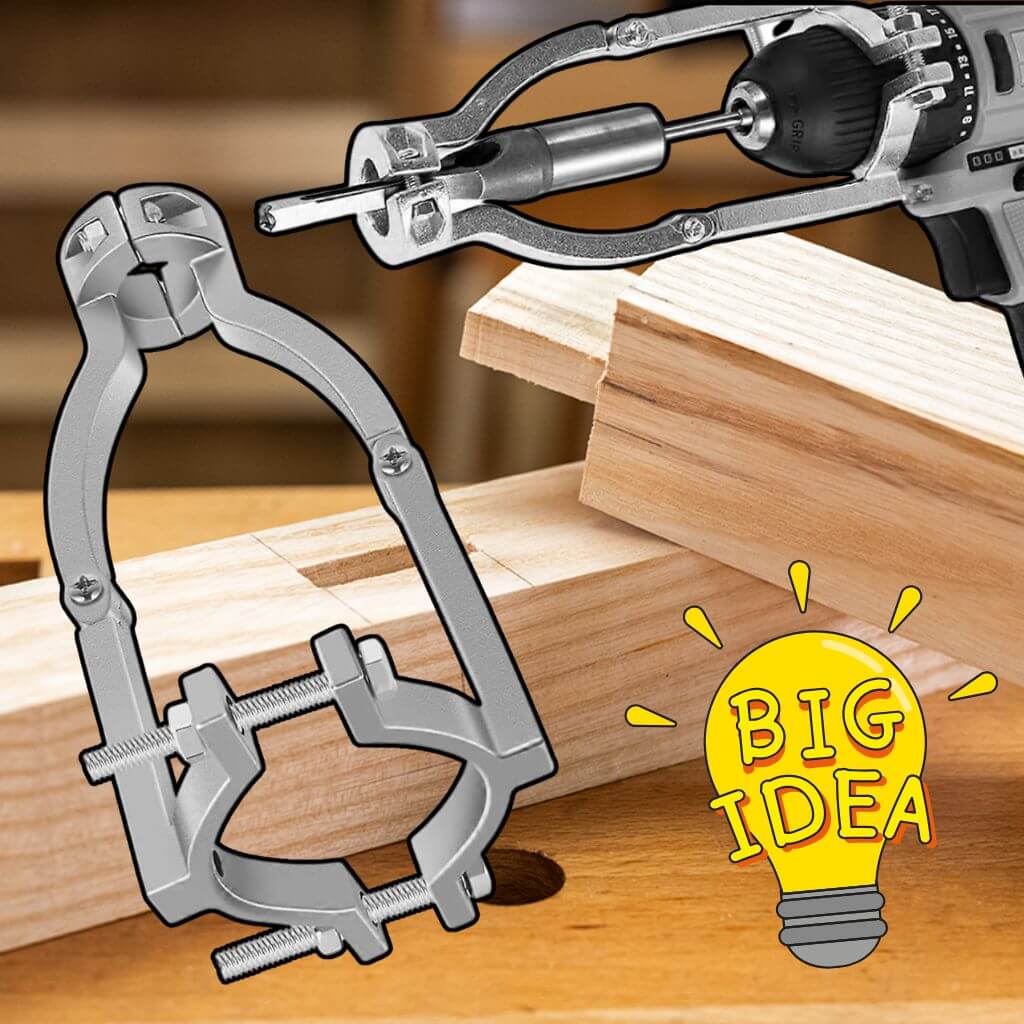
Today, many woodworkers use a dedicated mortiser or a standard drill press, with a mortise drill bit encased inside a four-sided chisel.
If you need to cut a square hole in wood easily on your next woodworking project, we strongly recommend our square hole drill bit!
SALE 50%


